Here is your supply list: (I made 14 necklaces from this material)
Bottle caps purchased off Ebay or Etsy (I bought mine off Ebay...$7.50 for 25)
1" diameter photos or prints off computer (Free..unless you count the ink from my printer)
Varnish (Duraclear purchased at Michael's Crafts Store $6.99)
Ribbon (Small satin ribbon from Walmart 10yds. $.47 and 2 sheer ribbon 3yds a piece for $1.99 each)
Rhinestones (optional) I had these in my craft box
Acrylic Paint (optional) I had paint in my craft box
Clasps to make necklace (Walmart $2.99 for a package of 3)
Total for our inexpensive craft...a whopping $33.89
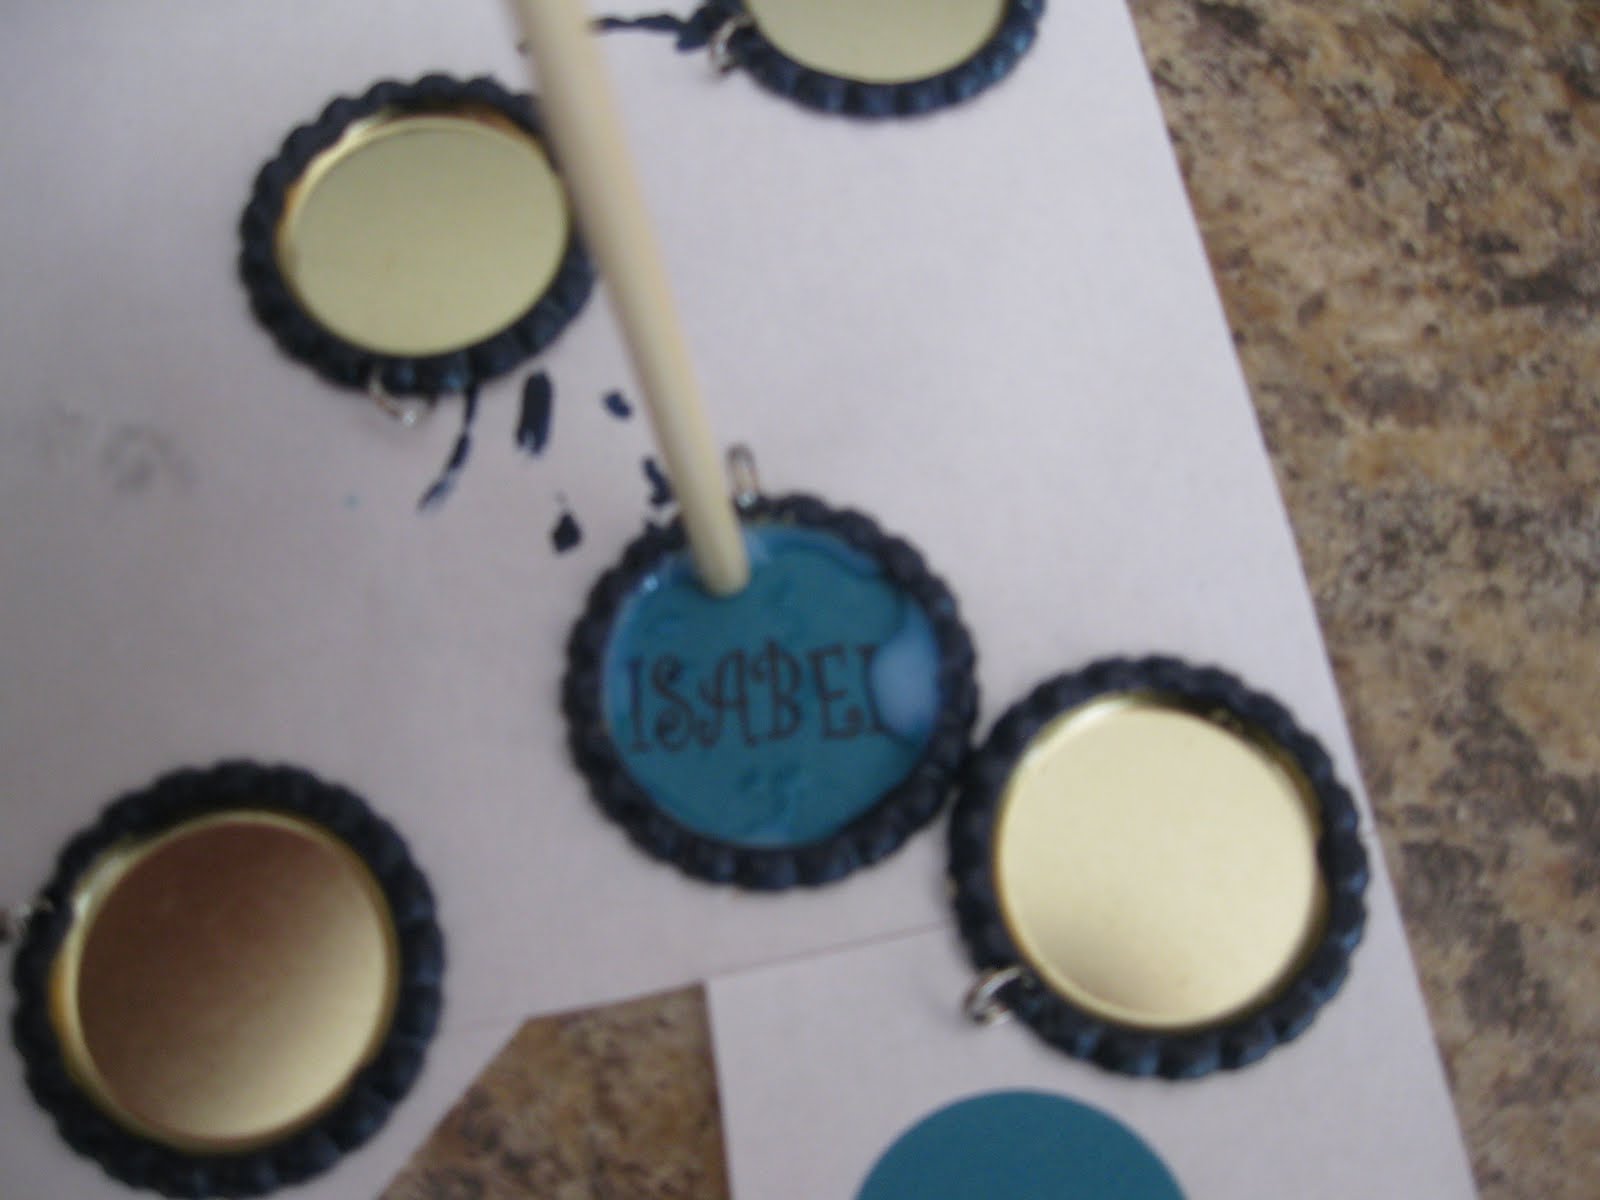
First things first...I purchased the bottle caps off of Ebay...because let's be honest...I don't think the parents on daughters softball team would appreciate their children walking around with a Bud Light cap strapped around their necks..and those are only bottle caps we have around this house. They were relatively inexpensive (don't you love that word...so much classier than the word "cheap") and already had the loop on them for hanging on a cord. Here they are:

Next thing you will need to do is cut out or print something that you want inside the necklace. Since it was for my daughter's softball team The Explosion, I decided to use the girls names in navy on a teal background...their colors are teal and navy...whatever you use should be 1" in diameter. Print or cut the disc out ...

Now the next step is optional, but I chose to paint the outer edges of my cap with acrylic paint. I then painted it with varnish so they would shine.

I purchased this brand of varnish from Michael's and it seems to work perfectly...

Squirt a few drops of varnish into the metal cap and place photo into cap. Press down using a toothpick or skewer to release any air bubbles. Once you have it straight squirt a few more drops of varnish into disc on top of photo. Swirl it around in the disc until it is even and all the photo is covered. At this point, I added a rhinestone to my disc, however, you can probably add anything you want, including glitter or beads or whatever floats your boat, just use your imagination.


Let your disc set for approximately 15 minutes or whenever it starts to clear up (it will be milky at first, as it dries it will start to clear and you will be able to see your image through the varnish.) Once it had set I repeated the varnish twice, letting it dry in between applications.


When you have completed all your discs, you will certainly want to add a ribbon for wearing. I purchased two different ribbons, a plain satin and a sheer with satin trim. I cut these into 16 inch pieces placed them together and added a clasp.


I have to admit...they did turn out pretty cute, but I don't think it is something that I will be doing again...once was enough for me. But I am thrilled they turned out as well as they did. Happy Tuesday everyone...if you have questions about this craft feel free to comment and I will do my best to answer.


I am linking to:


Very cute! I have a load of those bottlecaps I bought and haven't used yet! Your necklaces are adorable!
ReplyDeleteWow, what a creative idea. Love this! I would love for you to come link up over at my blog! I've got prizes :)
ReplyDelete-Jill
http://womenwhodoitall.blogspot.com
Hello! I'm your new follower though Make it your Day! Great site! Visit me at http://www.rockindeals4you.com/?p=848 and sign up for my giveaway!
ReplyDeleteThese are cute! Come see mine too! No tutorial though. http://capcreations.blogspot.com/2010/04/boy-party-bottle-cap-necklace.html
ReplyDeleteThese are cute. I love the colors you chose.
ReplyDeleteI haven't tried the bottlecap necklaces yet. They are super cute~ I should make some this summer!
ReplyDeleteVery pretty! Nicely done.
ReplyDeleteThanks for joining Get Your Craft on Thursday. Please join me next week for another wonderful party!!
Please stop by next week I am having guest over each day and I would love for you to tell them HI!
Absolutely Adorable!!!! I love them!
ReplyDeleteI am featuring this, stop by and grab the featured button! Thanks for sharing!!
ReplyDelete-Jill
I love these, they're great!
ReplyDeleteThanks so much for pointing me to this!
ReplyDeleteAs an aside- the bottle caps can be gotten a LOT cheaper. If it's something you want to work with more, I found mine on eBay- 25 for $3 shipped, but even cheaper than that- check out the brewery supply companies online.
$5 for 144 of them. I don't plan to use that many, but I'm still considering it, then reselling half of it on etsy or ebay to make some of the cost back. Plus, they sell in colors like black, gold, yellow, blue, white, etc.